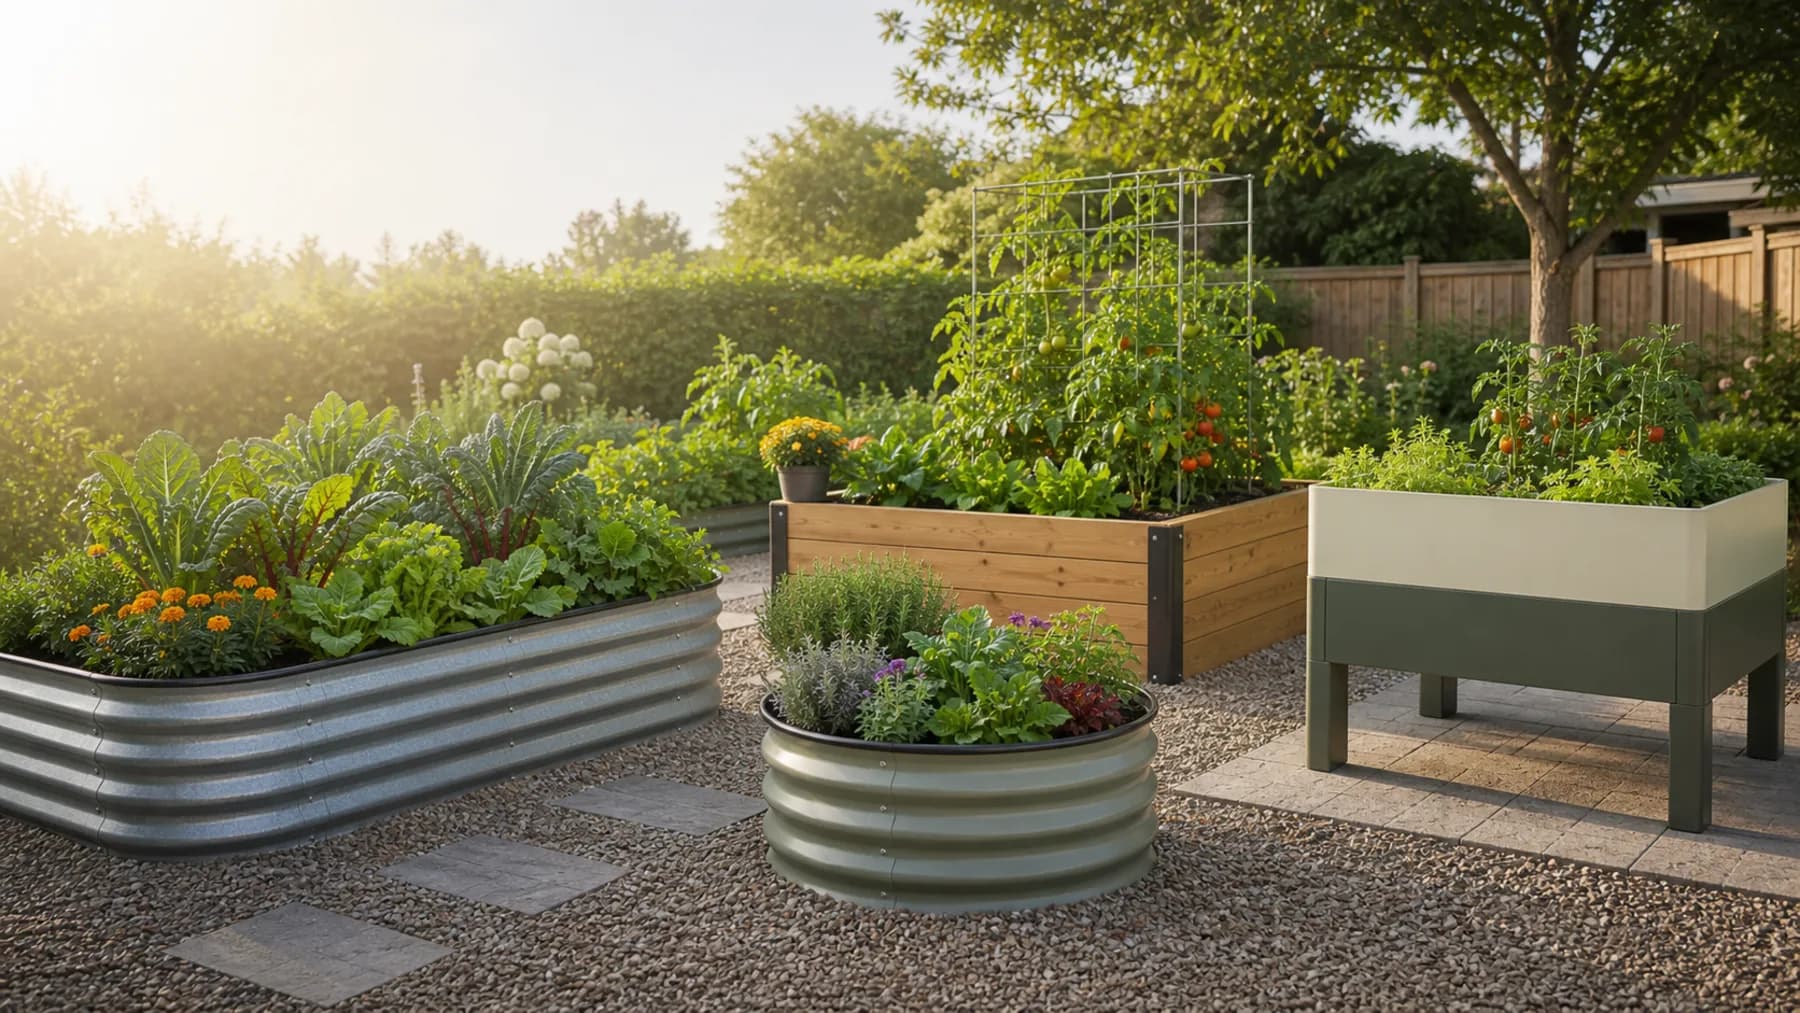
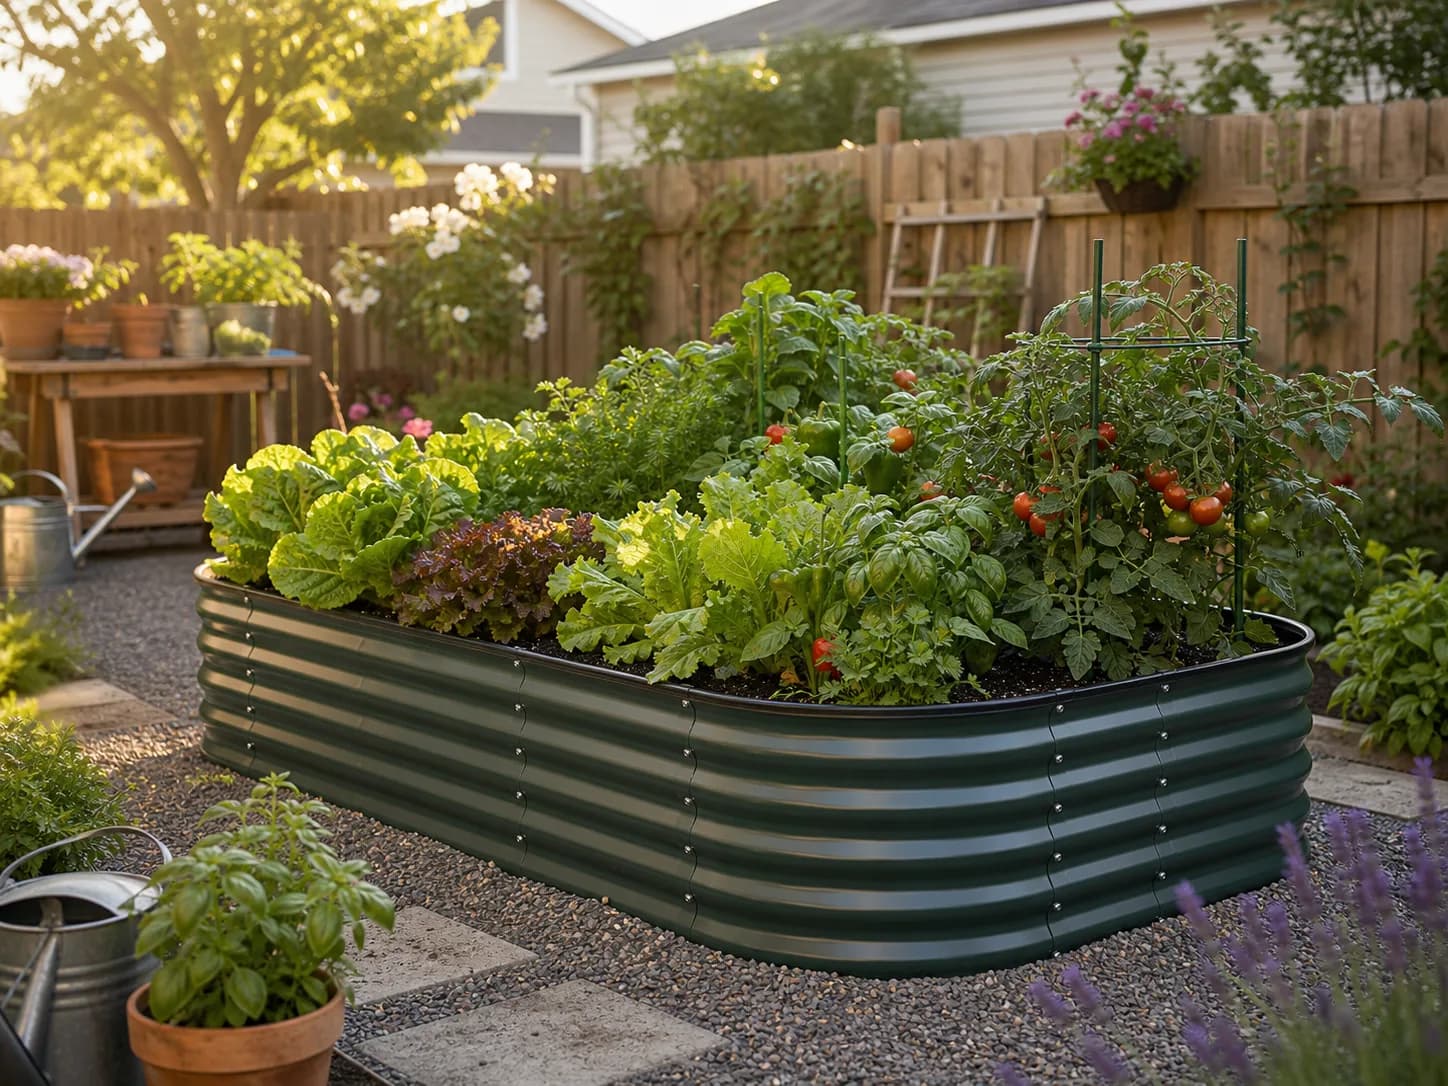
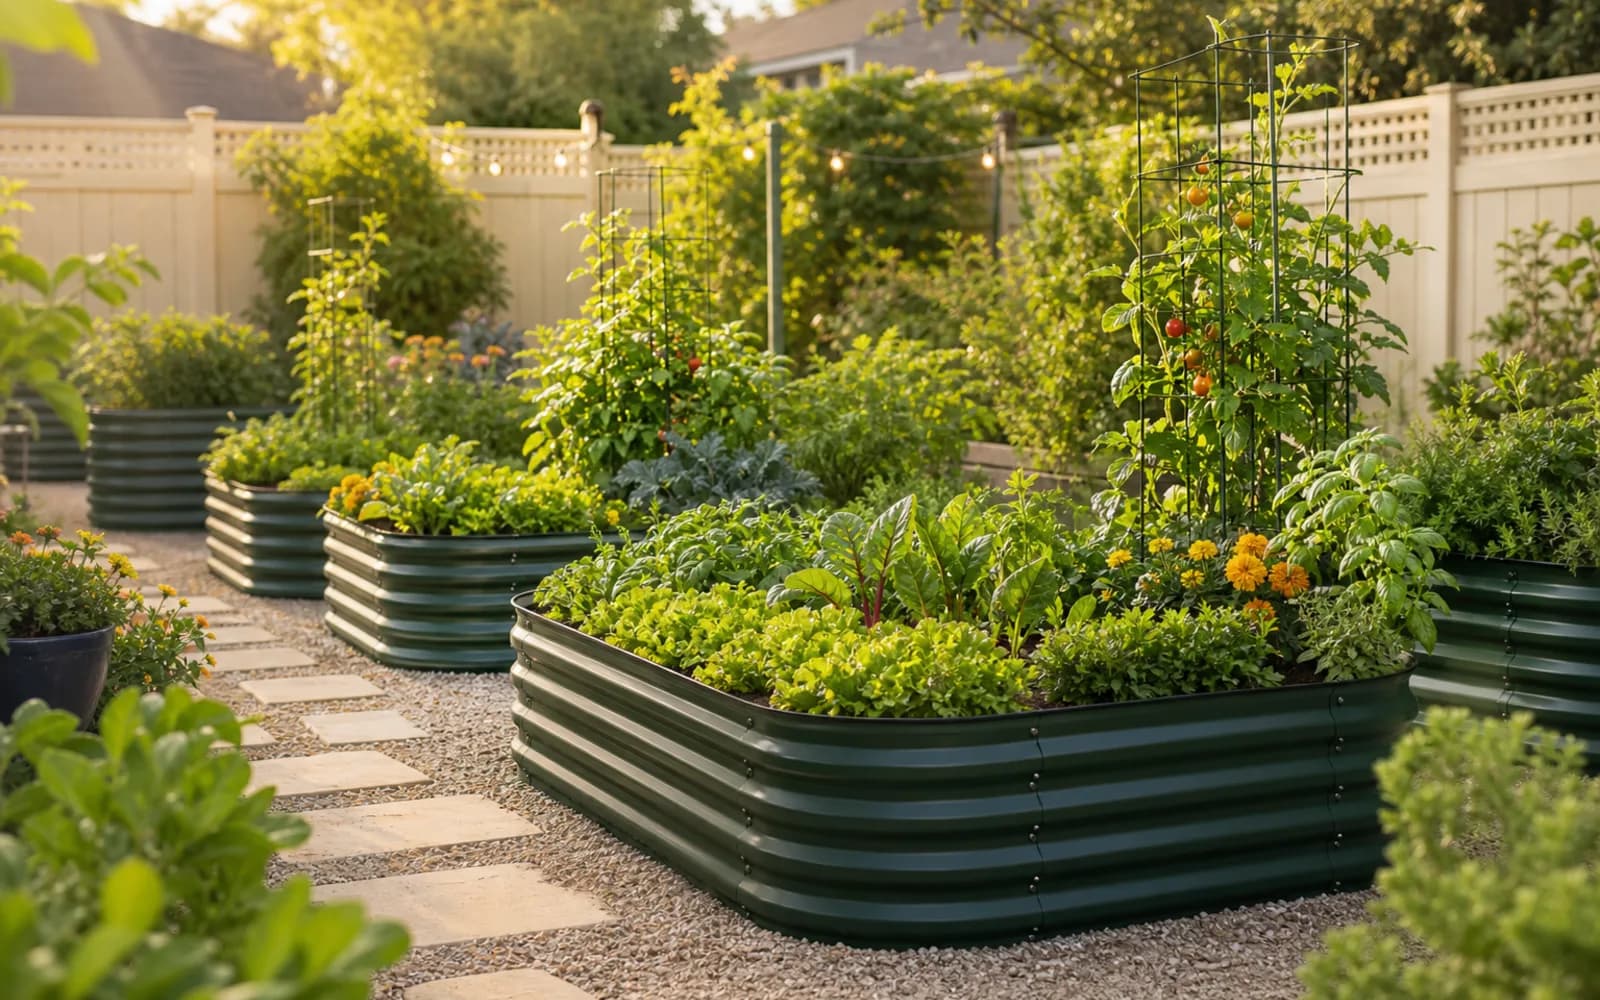
Start with the product that matches your constraint.
Use this compact matrix before reading the full guide. It keeps the choice grounded in fit, tradeoff, setup risk, and a current offer path without showing stale Amazon prices or ratings.
Start hereVego Garden
17" Tall 9-in-1 Modular Metal Raised Garden Bed Kit
Choose if
Compare the named 17-inch 9-in-1 kit configurations with your site.
Skip if
Shoppers who have not measured their space, fill volume, and walking clearance.
Check first
Check the selected layout, included hardware and accessory mounting requirements.
A wood raised garden bed is a construction choice as much as a material choice. Two frames described as cedar can have different board thicknesses, corner joints, braces, usable soil depths, and replacement options. Start by deciding how you will use and maintain the bed, then compare those details. The wood name is only one part of the decision.
This guide helps you choose between a ready-cut wooden kit, a frame built from local lumber, and another bed material. It does not rank untested products or promise a particular service life. For the broader material comparison, use metal versus wood raised garden beds. Here the focus stays on what to inspect before committing to a wooden frame.
Choose by the Job You Need the Bed to Do
Garden situation
Wood option worth considering
Main tradeoff
Standard rectangle, limited tools
Ready-cut kit with clear instructions
Less flexibility in dimensions and replacement parts
Unusual width or fence-side space
Local-lumber frame built to a drawing
Requires cutting, suitable joints, and assembly planning
Short-term learning garden
Simple, repairable low frame
May prioritize initial simplicity over durability
Permanent garden with a preferred timber appearance
Well-specified cedar or other suitable lumber
Material choice does not eliminate maintenance
Standing-height access
Purpose-designed elevated planter
Floor capacity and usable soil volume become critical
A wooden box on legs should not be evaluated like an open-bottom frame. The floor, fasteners, legs, and supporting surface must carry wet growing medium. If your main need is less bending, compare elevated planters before assuming that a taller stack of boards is the same solution.
What Cedar Does and Does Not Tell You
University of Maryland Extension includes cedar among decay-resistant lumber choices for raised beds. That is a reason to consider it, not a guarantee that every cedar kit will last the same number of seasons. Construction details and site conditions still matter. Avoid choosing between products using unsupported claims such as a fixed ten-year lifespan.
Ask which species is supplied, whether boards are solid wood, and what treatment or finish is present. If the description only says natural wood, treat the missing identification as an unanswered question. A photograph of warm-colored boards does not establish the species. Likewise, a cedar finish or cedar color is not necessarily solid cedar lumber.
Compare actual board dimensions. Thin boards may reduce shipping weight, but that benefit is separate from resistance to damage during assembly and the support needed along long walls. A thicker board also does not compensate for poorly specified joints. Read the assembly manual and inspect how forces are transferred at corners rather than assuming appearance tells the whole story.
For a local build, examine available stock before designing around a nominal size. Board width affects completed wall height; thickness affects both corner cuts and inside planting space. Our DIY raised bed guide includes a worked example showing why a four-foot outside width is not a four-foot soil opening.
Compare Untreated Lumber Without Turning It Into a Ranking
Untreated lumber can be attractive when you want a clearly identified starting material and a straightforward repair plan. Cedar and other suitable species may be available locally, while common construction lumber may be easier to source in matching dimensions. Obtain local quotes rather than assuming a species is always the least expensive choice.
Think about the useful life of the whole project. A simple low bed for a garden you expect to rearrange may justify a different purchase from a permanent courtyard installation. The relevant question is not which wood wins in every climate. It is whether you can afford the initial project, maintain it, and replace a board without dismantling neighboring beds.
Do not use this comparison to identify unknown reclaimed wood. If you cannot establish what a board was treated with or used for, choose a traceable material instead of guessing from color. For treated products, read current manufacturer documentation and relevant extension guidance for the specific treatment. This guide does not make a blanket safety judgment about every preservative sold under the word treated.
Kit or Local Lumber: Compare the Same Finished Bed
A kit quote and a lumber quote are easy to compare incorrectly. One may include corner posts and fasteners while the other only covers boards. One may advertise outside dimensions while the other describes the planting opening. Put both options on a single sheet with the same target footprint, intended fill depth, and installation requirements.
Item to compare
Kit question
DIY question
Finished size
Are dimensions inside or outside?
What opening remains after corner overlap?
Wall support
Are braces included and required?
What joint and brace design will be used?
Hardware
Are all fasteners supplied?
Are compatible exterior fasteners included in the estimate?
Assembly
What tools and number of people are specified?
Who will cut, support, and assemble the boards?
Repair
Can individual panels be replaced?
Can matching lumber be bought and fitted later?
Delivery
Will the package reach the garden gate?
How will long boards be transported?
Make a third column for unanswered questions. A missing manual or ambiguous dimension is not automatically a defective product, but it prevents a fair comparison. Resolve those gaps before buying soil, since the actual opening and filled depth determine the quantity you will need.
Read the Corner Design Before the Marketing Copy
Look for a clear drawing of the corner joint. A slotted post, bracketed butt joint, and interlocking panel each have different assembly steps. Determine whether boards are restrained against pulling outward and whether the design requires additional support on a long side. Follow the supplied instructions rather than improvising fewer fasteners to save time.
Check whether the assembly can be reversed. A frame designed around removable screws may be easier to repair than one whose boards become trapped behind neighboring structures. This is especially important beside fences. Leave access to the outside fasteners and enough room to remove a damaged panel after temporarily moving the adjacent soil.
Consider the top edge too. It should be comfortable to work near and free of protruding hardware. A broad top rail can offer a convenient place to set a hand tool, but it does not make the bed a seat. Only treat it as seating if the manufacturer or structural design explicitly allows that load. Decorative trim and structural support are different things.
Choose Height From Reach and Fill, Not Appearance
A tall wooden frame can look easier to garden in, yet still force you to stretch across an overly wide planting area. Test the proposed width from your usual working position. If you will garden from one side only, reduce the width accordingly. For seated work, also think about knee clearance and the space needed to approach and turn.
Calculate soil needs before choosing a taller wall. A rectangular four-by-eight-foot inside opening filled twelve inches deep holds 32 cubic feet. At twenty-four inches it holds 64 cubic feet. Those are geometric examples, not product specifications, and do not account for internal hardware or a gap below the rim. The doubled fill volume also changes handling effort and structural demands.
Read how deep a raised garden bed should be to separate working height from usable rooting depth. A tall planter with a shallow shelf can be comfortable but does not offer the soil volume suggested by its exterior height. An open-bottom frame on suitable ground has a different root boundary from a container on paving.
Plan Maintenance Before Planting
Build a simple inspection into the start and end of each growing season. Look at corners, fasteners, wall alignment, and areas that stay wet. Remove loose debris from surfaces where you can reach it without disturbing the plants. Investigate movement or soft damaged sections before adding more soil or attaching new supports.
Keep any protective coating decision separate from choosing the wood. Read the coating label for permitted uses, surface preparation, drying conditions, and maintenance. Do not assume that any leftover exterior paint belongs on the inside of a food-growing bed. Obtain guidance for the specific product and intended contact rather than relying on a generic instruction to seal everything.
If you use a side liner, determine how it terminates at corners and how water will leave the bed. A liner is not a substitute for adequate wall support. It also should not accidentally turn an open-bottom frame into an undrained container. The bottom-material guide helps distinguish weed suppression, animal barriers, and drainage decisions.
Three Practical Buying Scenarios
For a first backyard vegetable bed, a low, clearly specified kit can be a sensible choice when the footprint fits and assembly instructions are complete. Its value is predictable preparation: known board lengths, included connections, and fewer cuts. It is less suitable when the standard width blocks a path or prevents comfortable reach. Do not force the garden to fit the kit.
For a narrow side yard, a local-lumber build gives you control over width and length. Sketch the finished opening, verify access, and price the complete hardware list. The tradeoff is responsibility for the construction details. Keep the design modest unless you have a suitable engineered plan for a larger structure.
For a long-term garden where replacing timber would be difficult, compare wood with metal raised beds. Consider your preference for appearance, repair methods, compatible supports, and access around the garden. Neither material removes the need to measure the site, choose a workable width, or budget for growing medium.
A Purchase Checklist That Fits on One Page
Record the exact lumber description, actual thickness, outside footprint, inside opening, finished wall height, and recommended fill level. Add the joint type, required braces, included fasteners, tool list, and instructions for any finish. Finally, record delivery dimensions and whether replacement boards or panels can be obtained separately.
Beside those specifications, write the practical reason you are buying this particular configuration. Examples include fitting a narrow strip, avoiding home cutting, matching an existing garden, or retaining easy access to a replaceable wall. If the reason is only that the photograph looks attractive, return to the site measurements before ordering.
This checklist also makes exclusions explicit. A kit can be a good option for a level backyard and still be the wrong option for a deck, a retaining wall, a public-access seating area, or a heavily loaded trellis attachment. Matching the application is more useful than expecting one wooden frame to solve every gardening problem.
Supplies After Choosing the Wooden Frame
Amazon paid links: we may earn a commission from qualifying purchases through the links below.
For a measured open-bottom wooden bed, compare Espoma Organic Raised Bed Mix on Amazon with local soil options. Calculate the inside fill volume first; bagged material may be convenient for a modest bed or top-up, while a larger project warrants a delivery comparison. This is soil for the completed bed, not a wooden kit or a recommendation to fill an elevated planter beyond its permitted load.
If you are adding hose-fed irrigation, view the Rain Bird GARDENKIT on Amazon and check the intended tubing layout against the actual soil opening. Plan access to connectors without fastening anything through a liner or structural joint. A drip kit serves the watering stage; it does not address timber durability, and automatic scheduling requires an appropriate timer.
Frequently Asked Questions
Is cedar always the best wood for raised beds?
Cedar is worth considering, but the best choice depends on the complete frame, local supply, construction details, and repair plan. A species name alone does not establish product quality or lifespan.
Is a wooden kit easier than building from lumber?
A kit can reduce cutting and parts selection when its size fits your site. A local-lumber build offers more dimensional flexibility but requires a checked drawing and suitable hardware.
Can I attach a tall tomato trellis to the frame?
Only if the frame and attachment design are suitable for that load. Otherwise, use independently supported crop structures and keep access for inspecting the wooden walls.
Should I choose a taller bed to avoid bending?
Test both working height and reach. A tall, wide frame may still be awkward, while an elevated planter also needs suitable floor support and enough usable soil depth.