How to Build a Raised Garden Bed: Plan, Assemble, and Prepare
Plan and assemble a simple wooden raised garden bed with a worked sizing example, material checklist, access checks, and a clear handoff to filling and planting.
Start with the product that matches your constraint.
Use this compact matrix before reading the full guide. It keeps the choice grounded in fit, tradeoff, setup risk, and a current offer path without showing stale Amazon prices or ratings.
Start hereVego Garden
17" Tall 9-in-1 Modular Metal Raised Garden Bed Kit
Choose if
Compare the named 17-inch 9-in-1 kit configurations with your site.
Skip if
Shoppers who have not measured their space, fill volume, and walking clearance.
Check first
Check the selected layout, included hardware and accessory mounting requirements.
Best for: Gardeners comparing a bagged raised-bed mix for measured fill volume or top-offs, after checking the product instructions and crop rooting space
Key tradeoff: Bagged soil can be expensive for large beds
Building a raised garden bed starts with a usable footprint, not a stack of lumber. Decide where you will stand, how the hose will reach, and whether you can bring soil to the site before choosing dimensions. Those decisions are difficult to change after the box is full. A simple rectangle that you can maintain comfortably is a better first project than a complicated design that uses every available inch.
This guide covers a modest, open-bottom wooden frame on level garden ground. It is a planning and assembly guide, not a structural design for retaining walls, tall stacked beds, rooftop installations, or elevated planters with floors. Those projects need different support details. For an overview of what raised beds can and cannot solve, see University of Minnesota Extension's raised bed guidance.
Choose the Project Before Buying Materials
Your situation
A practical starting approach
Check before proceeding
First bed on level ground
Low rectangular wooden frame
Reach from both long sides
Narrow strip beside a fence
Narrower frame with front access
Reach the back without stepping inside
Patio or concrete surface
Purpose-designed container or suitable hard-surface bed
Drainage, contained soil depth, and surface loading
Need to garden standing up
Engineered elevated planter or supported tall bed
Working height and assembly requirements
Steep slope
Separate site-design project
Soil retention and foundation requirements
Do not assume that adding boards makes a bed suitable for any site. A ground-level frame contains a shallow layer of soil; a taller wall must resist a much greater sideways load. Likewise, a bottom panel turns an open frame into a container carrying the entire wet growing medium. Our elevated garden bed guide addresses that separate buying decision.
Step 1: Mark the Site and Test Access
Mark the proposed outside corners with stakes or temporary objects. Run a hose to the site, walk the delivery route, and stand beside the outline with your usual garden tools. Test reaching the middle from each working side. A common four-foot width is a starting reference, not an obligation; reduce it if reaching feels strained. Keep the footprint narrower wherever a fence or wall prevents access from one side.
Observe the site at different times of day before committing to a vegetable garden. A sunny-looking patch at lunchtime may be shaded for much of the morning and afternoon. Think about future obstructions too: the tomato support you add later may shade shorter crops, while an open gate or wheelbarrow may need space beside the bed. Use the layout ideas guide to compare arrangements before cutting wood.
Leave enough room to maintain the outside of the frame. If the bed nearly touches a fence, replacing a board may require moving soil and dismantling the whole box. A removable panel is useful only when you can reach its fasteners. This small maintenance check often matters more than gaining a few extra inches of growing space.
Step 2: Specify Actual Dimensions
Draw the rectangle from above and decide which boards overlap at the corners. Label both the outside footprint and the inside opening. Lumber names describe nominal sizes; measure the actual thickness and width before calculating cuts. A board sold as a two-by-six is not literally two inches thick and six inches wide.
Here is a worked example, not a universal cut list. Suppose you want an outside footprint of 48 by 96 inches and your boards measure 1.5 inches thick. If the two 96-inch boards run the full length and the short boards fit between them, each short board is 45 inches long: 48 minus twice 1.5. The inside opening is then 45 by 93 inches. Change the joint layout and the required cuts change too.
Dimension in this example
Calculation
Result
Long board length
Chosen outside length
96 inches
Short board length
48 minus 3
45 inches
Inside width
48 minus 3
45 inches
Inside length
96 minus 3
93 inches
Account separately for posts, brackets, and saw-cut loss. Hardware inside the corners occupies some soil space. Ask the lumber supplier about cutting services if you do not have a suitable saw and work support. Bring the sketch rather than only saying that you want a four-by-eight bed; that phrase does not explain whether you mean inside or outside dimensions.
Step 3: Select Boards and Compatible Hardware
Choose identifiable lumber with a known treatment history. Compare actual thickness, straightness, splitting, and replacement availability. Untreated cedar is one option, but the species name alone does not tell you how a completed kit is constructed. The wood and cedar bed guide explains how to compare a kit with a local-lumber build without relying on unsupported lifespan promises.
Choose exterior-rated fasteners or corner hardware suitable for the lumber and the joint design. Follow the hardware manufacturer's requirements for screw type, pilot holes, edge spacing, and installation. Do not substitute indoor drywall screws just because they are already in the toolbox. A bracket that looks substantial may still have specific limits on board height or assembly configuration.
Prepare the following before assembly: measured boards, compatible fasteners or brackets, a drill and suitable bits, tape measure, square, level, clamps, gloves, and eye protection. Add a saw only if you can use it with the required support and protective equipment. Keep children and pets away from the cutting and assembly area. Check for underground services before driving stakes or anchors.
Step 4: Prepare the Ground and Assemble the Frame
Remove obstructions and address weeds using a method appropriate to the site. Check the ground with a long straightedge and level. For this low-frame project, aim for even support under all four sides rather than balancing the box on a few stones. If leveling exposes a significant slope or requires a retaining structure, stop and redesign instead of stacking loose supports underneath.
Dry-fit the boards before installing fasteners. Confirm the short boards are on the intended side of the joint, compare diagonal measurements, and check that the frame matches your marked footprint. Equal diagonals help verify a rectangular assembly when the opposite sides are the correct lengths. Clamp components as needed and install the chosen hardware according to its instructions.
Check the assembled frame for protruding screw tips, sharp edges, loose joints, and rocking. Correct these while the box is empty. If you are using a commercial kit, follow its supplied bracing requirements; do not remove a cross-brace because it interferes with a planting idea. A taller or longer design needs appropriate structural details, not simply more soil poured against the same low-frame corners.
Step 5: Confirm the Bottom and Soil Volume
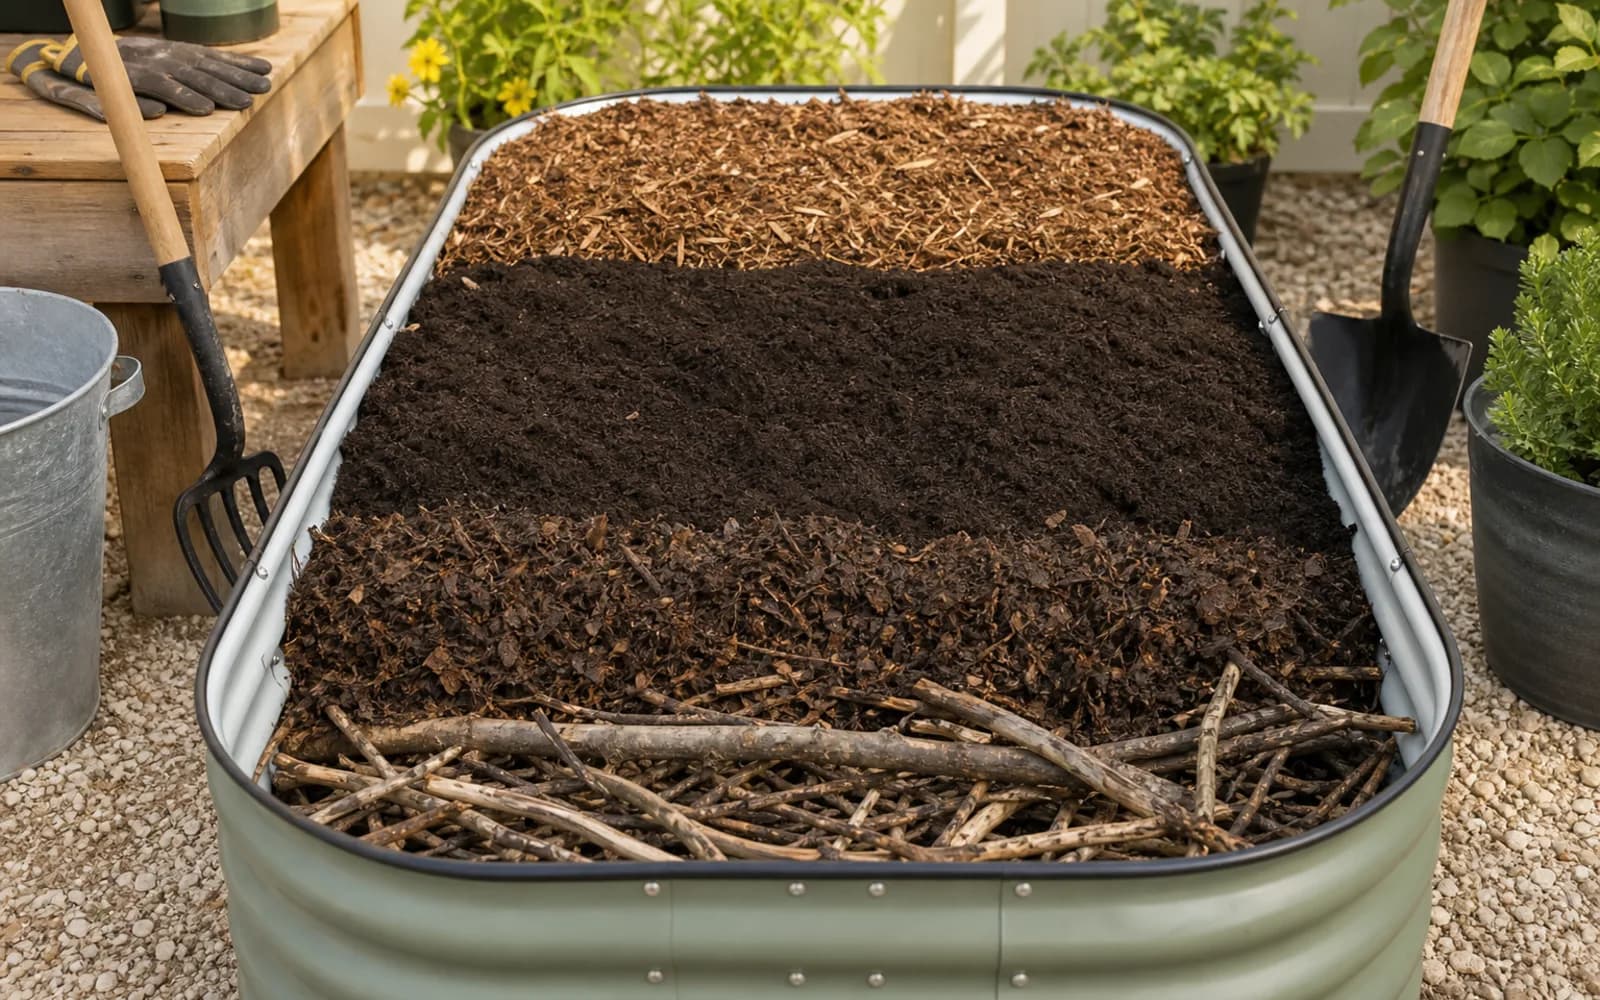
An open-bottom bed on suitable ground is different from a sealed planter. Before adding any barrier, identify its purpose: suppressing existing vegetation, excluding burrowing animals, separating materials, or containing potting mix. These are not interchangeable jobs. Read what to put at the bottom of a raised garden bed rather than choosing a liner because it came with a kit.
Calculate fill from the inside dimensions and intended soil depth. For the example above, a six-inch soil layer in a 45-by-93-inch opening takes about 14.5 cubic feet: 3.75 feet times 7.75 feet times 0.5 feet. This is an illustration of volume only; it is not a claim that every crop should use six inches of soil. Leave appropriate space below the rim and consider whether roots can reach suitable ground beneath.
Use the soil calculator to compare a few depths before ordering. When buying bags, divide the required cubic feet by the volume printed on each bag, then round up to whole bags. Delivery access and storage matter too. A bulk pile at the driveway can mean many trips if the garden is behind a narrow gate.
Step 6: Fill, Inspect, and Hand Over to Planting
Choose a filling approach for the actual site rather than treating every box as a large flowerpot. Our raised bed filling guide covers that decision in detail. Add material evenly and watch the frame as you work. Stop if a corner opens, a wall bows noticeably, or the base shifts. Address the structure before adding more weight.
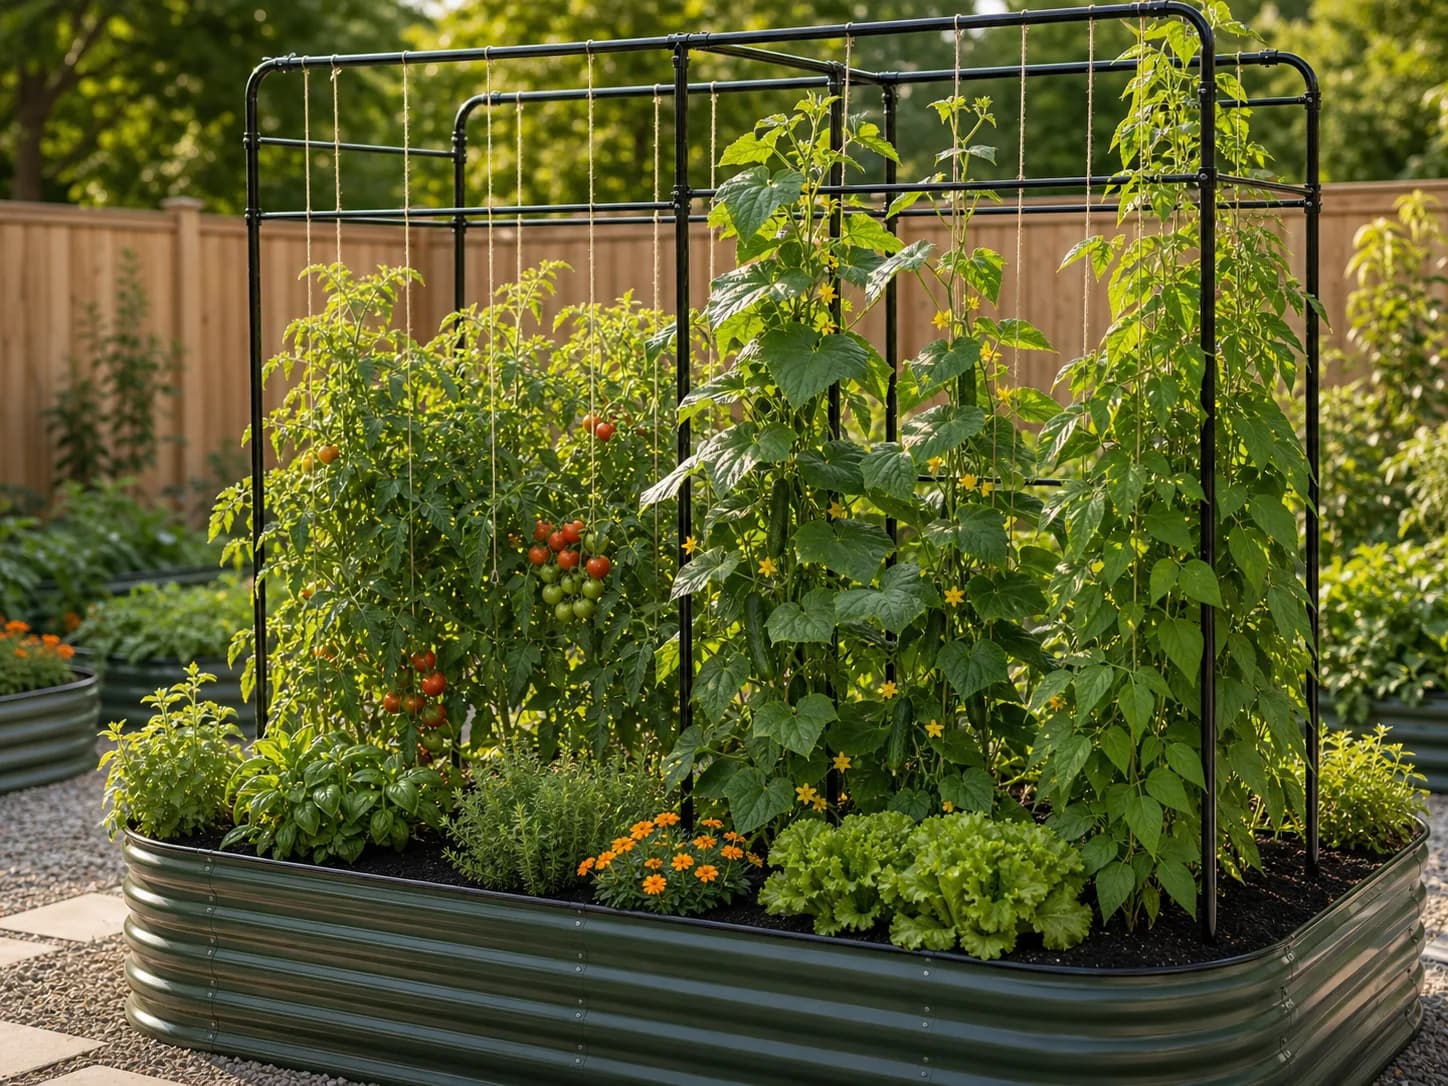
Position irrigation and independent crop supports while access is easy. Avoid improvising a tall trellis attachment to a thin board without checking the expected load and anchorage. Record the actual filled depth after settling, not just the manufacturer's wall height. That measurement will help with planting choices and future top-ups.
Before sowing, walk around the bed again with the hose and a harvest container. Make sure water can reach the far corners and that the route remains usable with tools on the ground. A successful build ends with a garden you can operate, not just a rectangle that photographs well.
Fill and Watering Supplies to Compare
Amazon paid links: we may earn a commission from qualifying purchases through the links below.
Once the frame is assembled and measured, view Espoma Organic Raised Bed Mix on Amazon as a bagged-fill option. Compare the bag volume with your calculated requirement and local bulk delivery before choosing how to fill a large bed. The mix is a growing material, not a substitute for checking the frame or the ground beneath it. Espoma's product guidance describes its intended raised-bed use.
For a first garden, make one frame and keep the rest of the layout temporary until you have used it. During the first few maintenance visits, note where you naturally stand, where the hose catches, and whether the center remains reachable. That experience can justify changing the next bed's width, leaving a wider central path, or moving the irrigation connection to the opposite end.
Keep a short project record with the outside measurements, actual board sizes, hardware description, and a photograph of the empty corners. Store the assembly instructions alongside it. When a panel eventually needs attention, that information helps you match replacement parts without guessing through soil and plants. It also makes a second build more consistent than relying on memory from the first weekend.
Common Mistakes to Avoid
Buying soil from the outside footprint instead of the inside opening.
Cutting every piece before measuring the actual lumber and joint arrangement.
Treating bed height as proof of comfortable reach.
Blocking a gate or the only practical delivery path.
Filling before checking corners, braces, and drainage.
Copying a low-bed plan for a much taller wall without redesigning its support.
Frequently Asked Questions
Can I build the bed without a saw?
Yes. Use a suitable kit or ask a lumber supplier to cut boards to a checked drawing. Confirm actual board thickness and the corner arrangement before requesting cuts.
Does this wooden bed need a solid floor?
Not for the open-bottom, ground-level design described here. A solid floor changes drainage and structural loads, so use a purpose-designed container when a floor is required.
Should I build a second bed immediately?
Try one bed first if the layout is untested. Confirm reach, watering access, and the working path before repeating the design.
What should I do after assembly?
Inspect the empty frame, decide whether a bottom barrier serves a specific purpose, calculate the actual fill volume, and use a soil plan suited to the site.