Start hereVego Garden
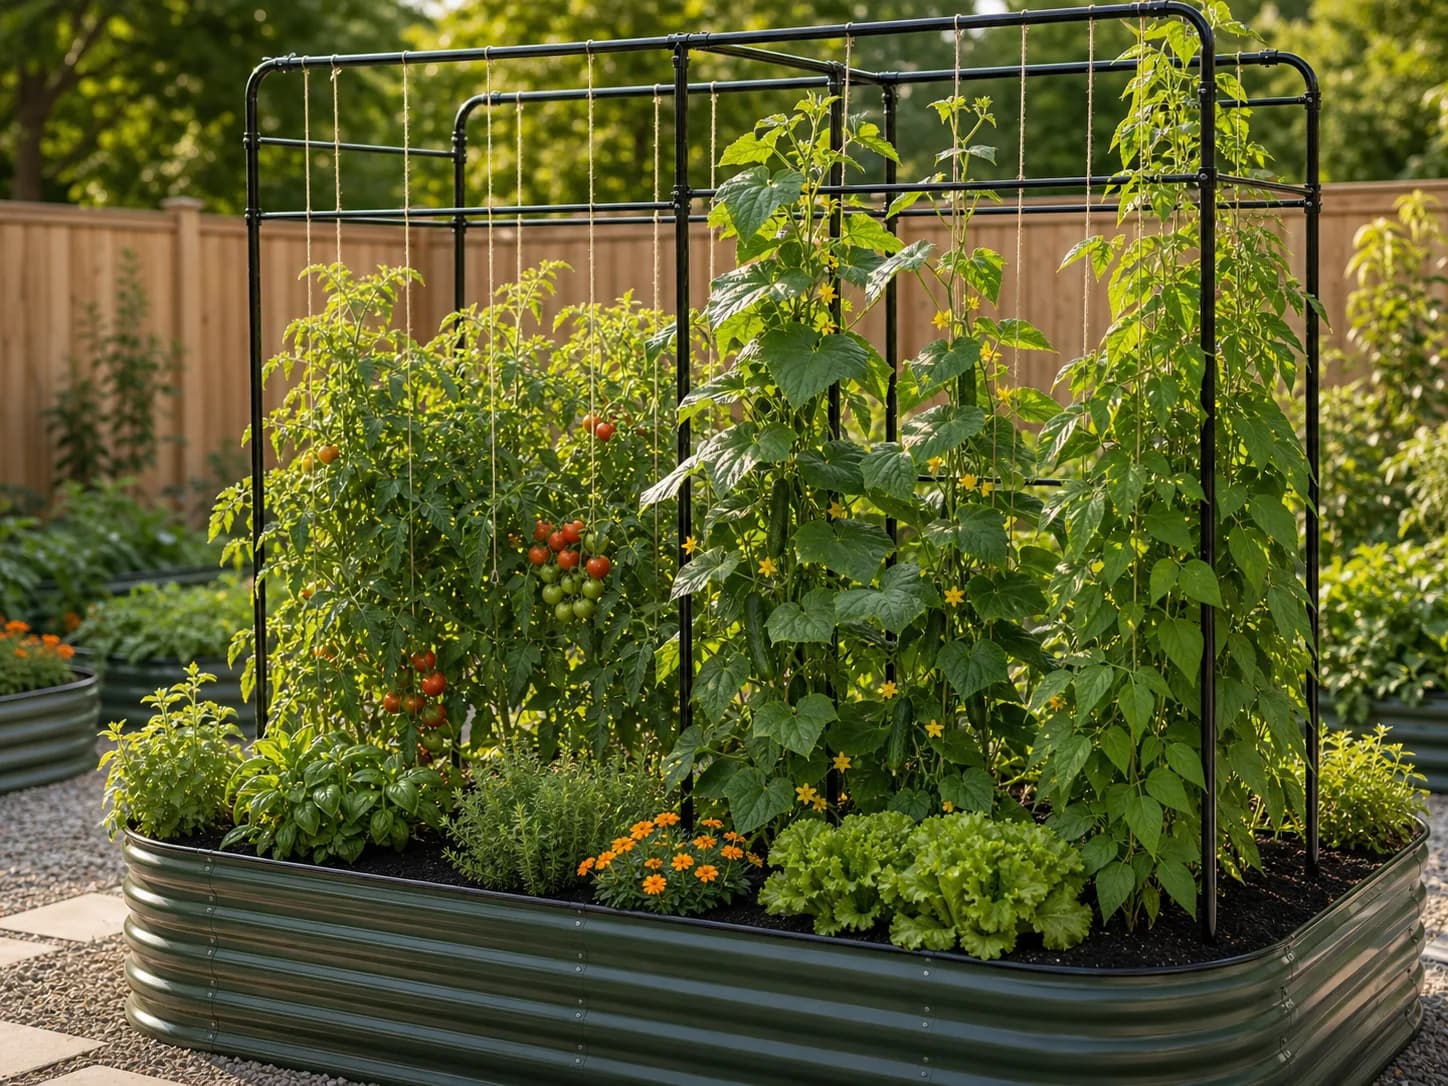
8 ft Tomato Metal Frame Trellis
- Choose if
- Tomatoes, cucumbers, beans, vining crops in rectangular raised beds
- Skip if
- Buyers who only need a basic bed without vertical crop support.
- Check first
- Garden bed not included
Understand reservoir planters, usable soil volume, overflow, first watering, crop supports, and the difference between self-watering containers and drip irrigation.
Use this compact matrix before reading the full guide. It keeps the choice grounded in fit, tradeoff, setup risk, and a current offer path without showing stale Amazon prices or ratings.
Accessory fit depends on bed size, crop plan, and watering setup. Check the product page for current compatibility details.
Best for: Tomatoes, cucumbers, beans, vining crops in rectangular raised beds
Key tradeoff: Garden bed not included
View decision notesCheck current price on AmazonBest for: Beginner raised-bed gardeners who want a known-brand kit for one 4 x 8 vegetable bed
Key tradeoff: Limited coverage for multi-bed gardens
View decision notesCheck current price on AmazonBest for: Gardeners comparing a bagged raised-bed mix for measured fill volume or top-offs, after checking the product instructions and crop rooting space
Key tradeoff: Bagged soil can be expensive for large beds
View decision notesCheck current price on AmazonUpdated:
A self-watering planter stores water below or beside the growing medium and makes it available through a designed wicking system. The name does not mean that the planter refills itself or that every vegetable can be left unattended for a fixed number of days. Your job changes from watering only the surface to monitoring the whole container: reservoir, mix, overflow, crop, and support.
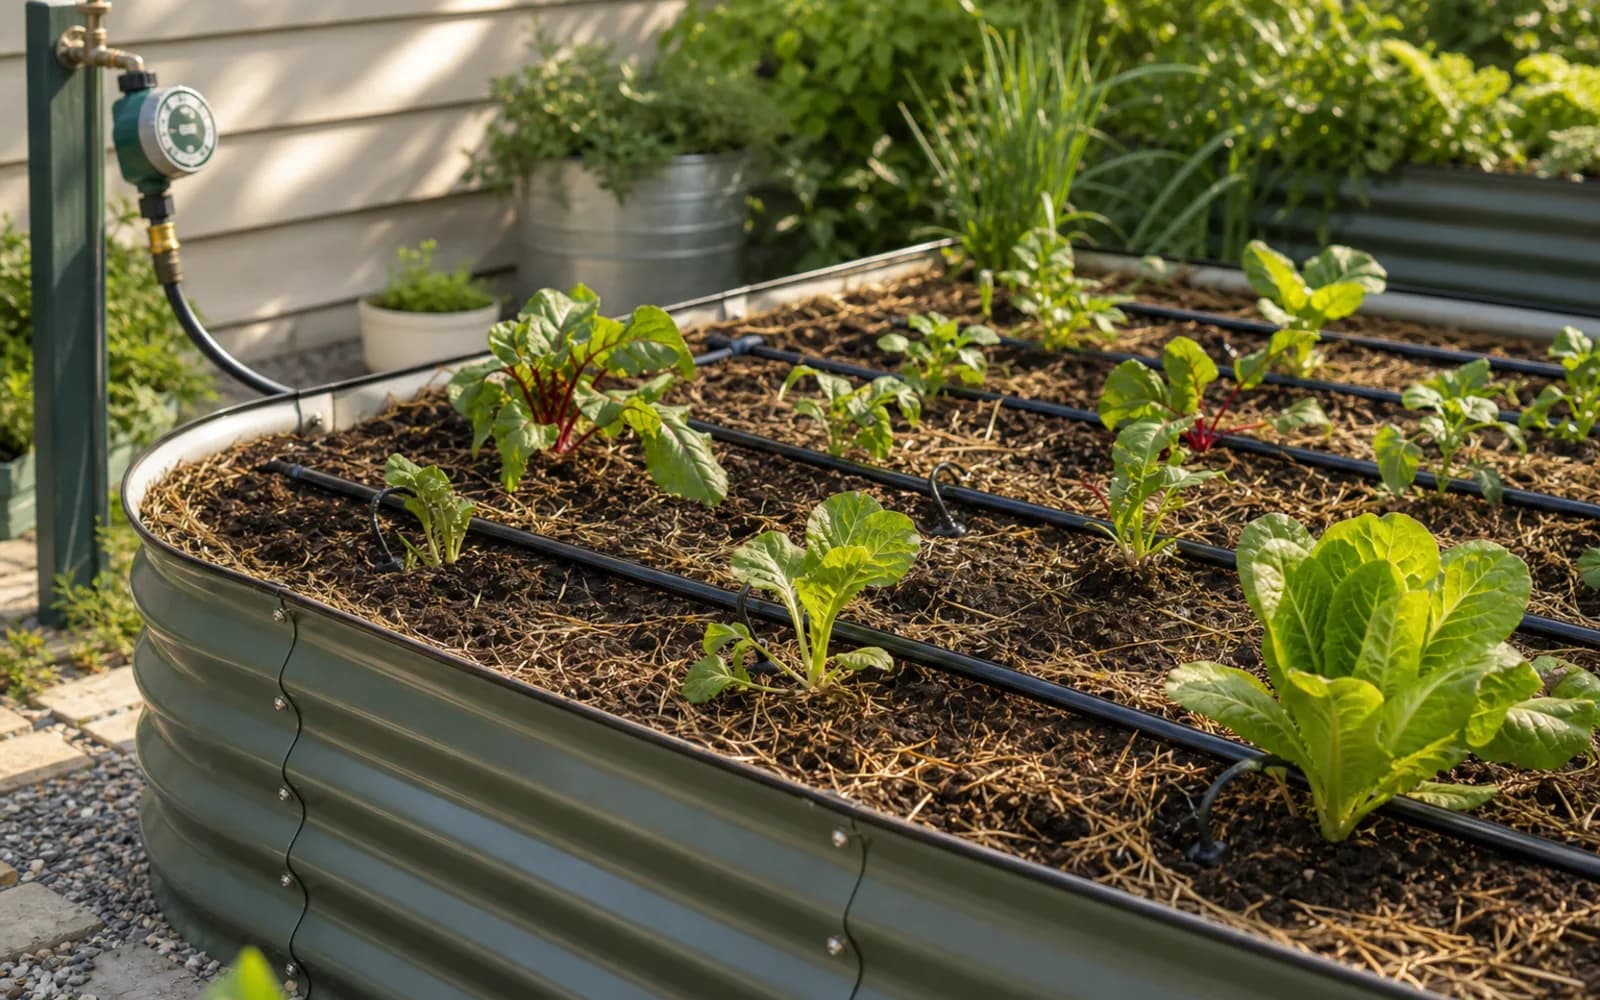
This guide helps you decide whether a reservoir planter fits a patio vegetable garden and what to inspect before buying or assembling one. It does not rank products or make promises about travel duration. For beds watered from a hose connection, see drip irrigation kits for raised beds. Those systems solve a related but different problem.
University of Maryland Extension's self-watering container guide illustrates the basic separation between a growing area and a water reservoir, with a filling route and an overflow. Use it to understand the principle, then follow the instructions for the particular container you choose. Wicking components and required growing media vary between designs.
Identify the soil chamber, reservoir, fill tube or opening, wick or contact area, and overflow on a diagram. Ask how each can be inspected after planting. If the product description shows only the exterior, look for its manual. A large-looking planter may devote a substantial portion of its height to water storage rather than roots.
Do not compare containers using total volume alone. Record usable growing-medium volume and reservoir capacity separately. Also distinguish overall height from soil depth. A planter can be comfortable to reach while providing only a shallow soil compartment, just as a compact floor-standing container can provide considerable depth but require bending to harvest.
| Option | Where it can fit | What you still manage | Important limitation |
|---|---|---|---|
| Reservoir planter | A few contained crops near a convenient filling point | Reservoir level, mix moisture, overflow, and feeding | Storage is finite and design-specific |
| Ordinary draining pot | Flexible container choices and direct hand watering | Moisture checks and watering each container | No built-in reserve unless separately designed |
| Drip irrigation | Several beds or containers with a suitable water connection | Emitter performance, scheduling, leaks, and seasonal changes | Requires installation and ongoing checks |
| Manual watering of an open bed | A small garden with easy hose access | Root-zone moisture and even coverage | Depends on someone attending the garden |
Choose the system that matches your daily routine. A reservoir is useful only if you can reach and refill it. A drip system is useful only if its emitters deliver water where intended. Neither removes the need to look at the plants and check actual moisture. The simplest reliable system for one balcony may be inconvenient for six backyard beds.
Start with the vegetable variety and its recommended container size, then compare the planter's usable soil compartment. A tomato, a few salad greens, and a compact herb planting are not interchangeable loads on the same container. Use guidance for the specific crop and variety rather than fitting plants according to how small the seedlings look at purchase.
The Maryland Extension container vegetable guide is a useful starting reference for crop and container planning. Treat dwarf or patio varieties as named selections to investigate, not as a guarantee that any small pot will work. Also check how the mature canopy will affect access to the fill opening and nearby containers.
For tomatoes and other supported crops, plan the support before filling. Some planters provide specific attachment points; others do not. Do not drive a stake through the reservoir floor or assume a narrow container can stabilize a tall trellis. Our tomato support guide explains how to compare cages, stakes, and frames without treating them as identical accessories.
Place the empty container where you can reach its fill opening and see the overflow. Keep the outlet clear of walls, stored objects, and debris. Decide where discharged water will go after rain or overfilling. On a balcony or shared patio, consider the surface below and neighboring areas; the presence of a reservoir does not guarantee that no water will escape.
Confirm that the supporting surface is suitable for the completed planter, including wet medium, stored water, plants, and any accessories. Follow building or property requirements where relevant. Do not infer deck or balcony capacity from the fact that a container can be carried easily when empty. If the manufacturer specifies a stand, wheels, or feet, follow their load and placement instructions.
Test your working position. Can you lift a full watering can to the fill opening without awkward twisting? Can you read a water-level indicator once the plant is larger? If the answer is no, change the arrangement while the planter is empty. Moving a planted reservoir container may be substantially harder than repositioning an ordinary empty pot.
Read the complete assembly instructions before adding medium. Confirm that the separator, wick, fill tube, and overflow are in their intended positions. An incorrectly seated platform or blocked opening can be difficult to diagnose once roots and wet mix cover the components. Check whether the reservoir can be cleaned or drained without dismantling the entire planting.
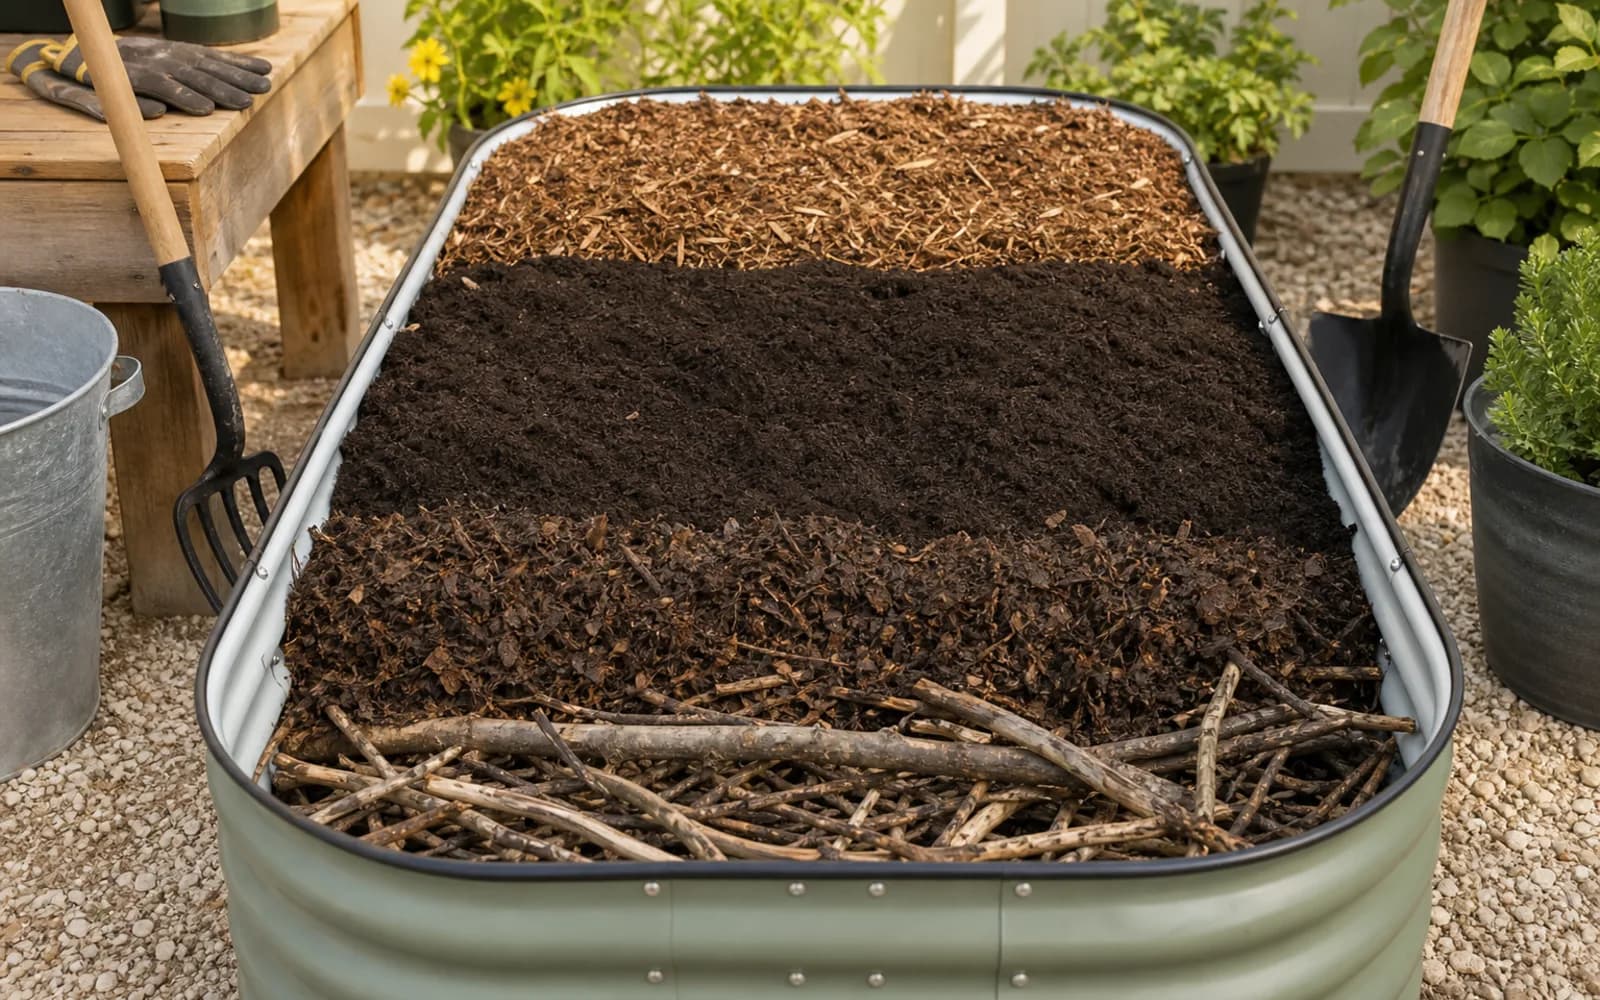
Use the growing medium specified for the design. Do not automatically substitute heavy garden soil or a random leftover mix. The wick and surrounding medium must establish the intended water connection. Likewise, do not add an improvised gravel layer inside a reservoir planter unless its instructions call for it; that changes the space and contacts the system was designed around.
Follow the initial wetting procedure. Many designs need the growing medium moistened from above during setup so the water path is established; the manufacturer's instructions should explain this step. Pouring water into the reservoir beneath dry, poorly connected material is not proof that newly planted roots can access it. Confirm moisture where the roots actually are.
During the first weeks, check both the reservoir and the growing medium. Record the day, approximate fill level, weather, and how the plants are developing. A newly planted container may use water differently from the same container with mature foliage. Repeat the observations when conditions change rather than relying on an early-season interval indefinitely.
For a simple planning example, imagine a reservoir with four usable gallons and an observed drawdown of one gallon per day under a particular set of conditions. Division gives about four days in that observed situation, not a four-day guarantee. Higher demand, a partly filled tank, leaks, or a different crop can change the result. Keep this as a way to reason about capacity, not a promise to leave plants alone.
Before travel, test the actual arrangement for the intended interval while someone is still available to inspect it. Arrange backup checks when the consequences of drying out matter. A water-level indicator is useful, but it should be checked against the real system occasionally; an indicator stuck in place can create false confidence.
A reservoir stores water; it does not eliminate the crop's nutrient needs. Follow the container instructions and fertilizer label for the type, amount, placement, and frequency of feeding. Some systems have particular recommendations about where fertilizer belongs. Do not assume that adding more to the reservoir is a substitute for checking why a plant looks stressed.
University of Minnesota Extension explains that container growing involves both nutrient and moisture management. For your own record, track when you feed as well as when you refill. This makes it easier to avoid repeating an application simply because different people are helping with the garden.
If instructions call for periodic top watering or flushing, plan where that water will drain. Do not block an overflow to keep fertilizer solution inside. If the planting behaves unexpectedly, inspect the setup and seek crop-specific guidance rather than changing several feeding and watering variables at once.
If plants wilt while the reservoir contains water, inspect the root-zone moisture, wicking connection, and assembly first. Water in the tank does not establish that the growing medium is evenly moist. Also consider weather and the plant's condition; wilting alone does not identify one cause. Avoid repeatedly adding water to an already wet medium without investigating.
If the growing medium stays unusually wet, check that the overflow is open and positioned as designed, and that the correct medium was used. Review whether rain has changed the system's normal operation. Do not drill new holes at random, especially through hidden reservoirs or support components. Use the maker's troubleshooting guidance for the actual design.
If the planter dries faster than expected, confirm usable reservoir capacity and check for leaks or an accidentally open drain. Compare current plant size and weather with your earlier records. Sometimes the system is functioning properly but the original expectation was unrealistic. The appropriate response may be more frequent refilling, fewer plants, or a different container.
A reservoir planter is a poor fit when you cannot inspect or refill it, when the required crop volume is not available, or when the outlet cannot drain appropriately at the site. It also does not replace a structural plan for a heavy rooftop or balcony garden. Address those limits before choosing a particular appearance or accessory package.
For a larger open-bottom vegetable garden, compare a hose-fed drip arrangement and a practical manual-watering routine. For a small patio garden, compare one well-sized reservoir planter with several ordinary pots. Think about how many filling points you want to manage and where supports will go. Fewer well-planned containers can be easier to maintain than an assortment with incompatible instructions.
Amazon paid links: we may earn a commission from qualifying purchases through the links below.
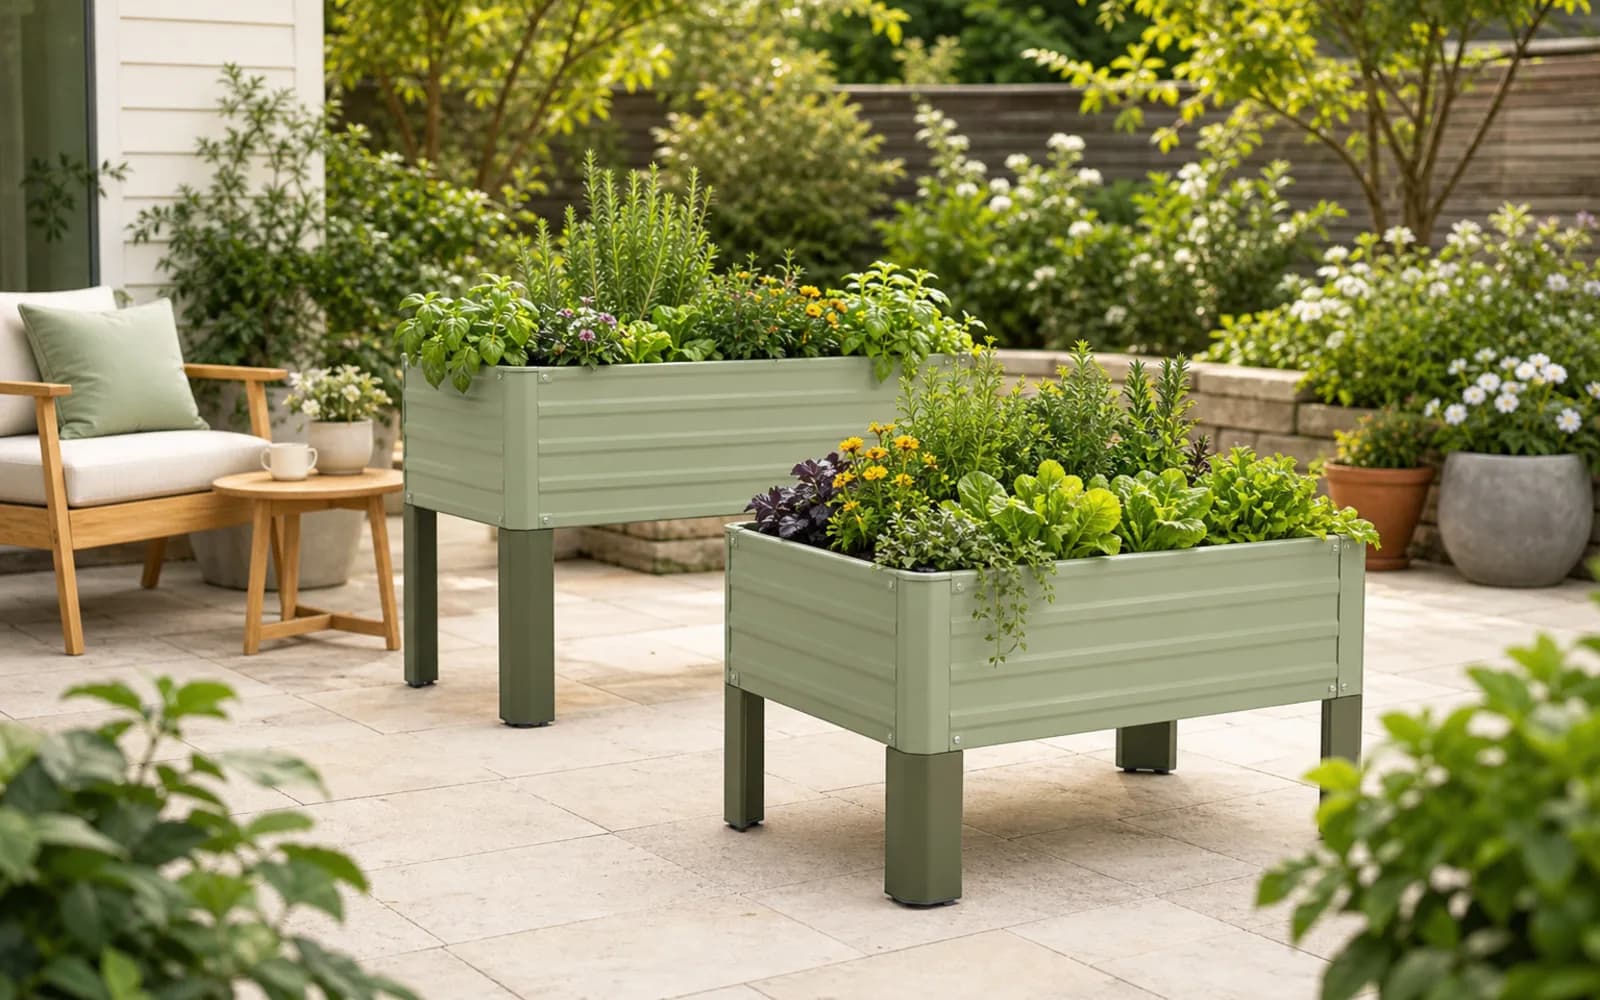
For an elevated growing area, view the Vego Garden S Series 2 ft x 4 ft self-watering bed on Amazon. Compare the usable soil compartment, reservoir access, and working position with your crop plan. The raised format may suit someone prioritizing access, but it still needs a suitable supporting surface and regular checks. Confirm the exact model and its instructions rather than inferring soil depth from overall height.
For a smaller patio footprint, view the Vego Garden EZCube 21 in x 24 in elevated planter on Amazon. Compare its growing space with the larger bed before deciding how many plants to include. Vego's EZCube page describes the reservoir design and configuration choices. Check the selected version carefully; a compact footprint does not establish suitability for a full-size tomato or guarantee a particular interval between refills.
No. It has a finite water reserve that must be refilled and checked. Refill frequency depends on the container, crop, weather, and how the system is working.
Use the medium specified for the particular design. The growing medium and wick need to work together, so do not substitute garden soil without checking the instructions.
Yes, when the container provides suitable usable soil volume and a compatible support arrangement for the chosen variety. Check both requirements before planting.
No. A reservoir planter stores water within its system, while drip irrigation delivers water through emitters from a supply. Both require setup, monitoring, and maintenance.